Over the summer I stumbled across
this site all about creating paper mache masterpieces. I decided I had to try it. I grabbed some tape, newspaper, tinfoil, a picture and set to work! I wanted to make a dinosaur and a seahorse (because I'm obsessed with seahorses and dinosaurs are just cool). These are the images I worked off of.
In retro-spec, I probably should have picked another picture for the dinosaur, it isn't your typical t-rex type deal, the shape isn't the same. Most of the body is newspaper with tinfoil to define the shape a bit more where it was needed. My dinosaur turned out a little derpy as far as his shape goes, his body is a little too fat and his neck too short (I love him anyway). But the seahorse is pretty neat. The pictures here are unfinished, the dinosaur is missing his arms and the seahorse needs a finished tail.
The next part of the journey turned out to be a hilarious almost-disaster. I wanted to make homemade paper mache clay from the site, so I gathered the materials which included:
- Cheap toilet paper (measure the wet paper pulp, and use 1 1/4 cups – some rolls contain more paper than needed)
- 1 cup Joint compound from the hardware store (get “regular,” not “fast set” or “light”.) (Not sure what Joint compound is, or what it’s called in your country? click here.)
- 3/4 cup Elmer’s Glue-all (PVA glue)
- 1/2 cup White Flour
- 2 tablespoons Linseed Oil or Mineral Oil (vegetable oil can be used, too, if you want)
That doesn't sound so bad right? Wrong. As you may have already gathered, my mom is very artsy with an art room to match. When I asked her for Linseed oil she pulled out an old can she used when she was in college and painted a lot. I wrinkled my noise and immediately worried it was old, but she shrugged and went back to playing computer games (She is an avid online gamer). So I opened the can and dumped it into the mixture I had created. Immediately an intense smell similar to dead skunk started to drift throughout the kitchen. I again started to panic that it was old and I began to feel rather dizzy, so my mom finally goggled it. Sure enough, Linseed oil can skunk. Who knew right? I started to wail about how many brain cells I probably killed in the process of mixing my new paste, but my mom wouldn't read me the hazards, which was probably the right choice. We rushed outside to wash everything off in the hose and bagged the bio-hazard can. We lost a few of our good measuring tools and bowls, but had lots of laughs along the way. Still, I should probably replace those...
The next day I tried again with vegetable oil instead. The clay turned out...chunky...at best. But I convinced myself it was all a learning process anyway so I slathered it on the dinosaur and tried to smooth it out. It wouldn't smooth. It wasn't working
at all, which was frustrating since I followed the directions so carefully. Anyway, the only saving grace was that I happened to be doing a dinosaur, so leathery, cracked skin was perfectly acceptable! So in the end, the clay was an awkward success. I forgot to take a picture however.

I did my seahorse in normal paper mache, a much better idea.
Next, I painted the seahorse in white acrylic paint. I was afraid the homemade clay would rot or something, so I sealed the clay with wood sealant because...it's what I could find? After fretting a lot that it would no longer accept the acrylic paint (I fret a lot) I painted the dinosaur white with no problems
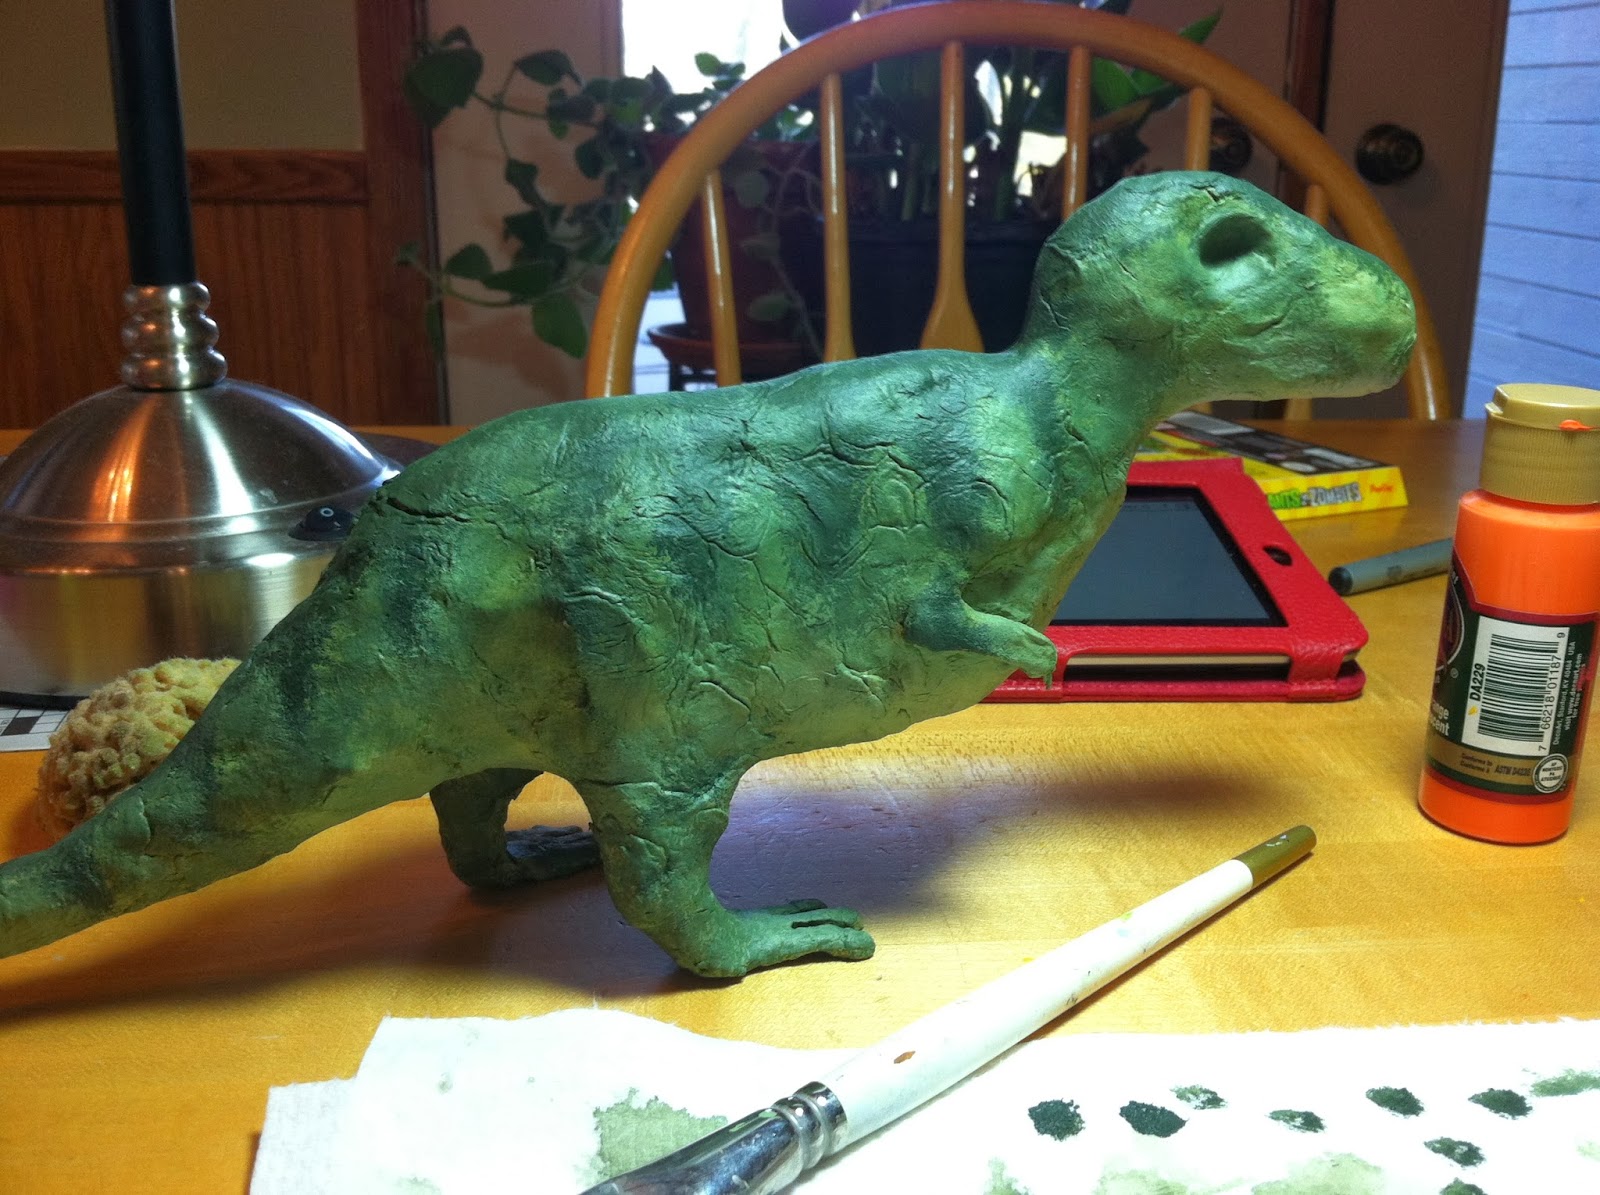
The next step was what I was dreading the most. Painting. I hadn't painted anything before. I found a picture of a dinosaur I liked best (pictured above) and started to paint away!...until I hit a point to which I thought there was no return.
What is that?! What are those green blobs?! THAT'S NOT WHAT THE PICTURE LOOKS LIKE. In a huff I asked my mom what to do. She starred at it for a moment before saying "Use a stipple brush!" A Stipple brush is a glorious, glorious tool. Armed with my new brush and moms words of wisdom "Nothing in nature is perfect. Don't try to make anything perfect, then it will look realistic" I created this little guy!
Isn't he just the cutest little derpy thing you've ever seen? I'm really happy about the way the painting turned out, considering I've never painted anything ever. I've sense pulled his eyes out (yikes!) and am looking for a better solution for them...
My next adventure will be to paint the seahorse!
Happy crafting!